
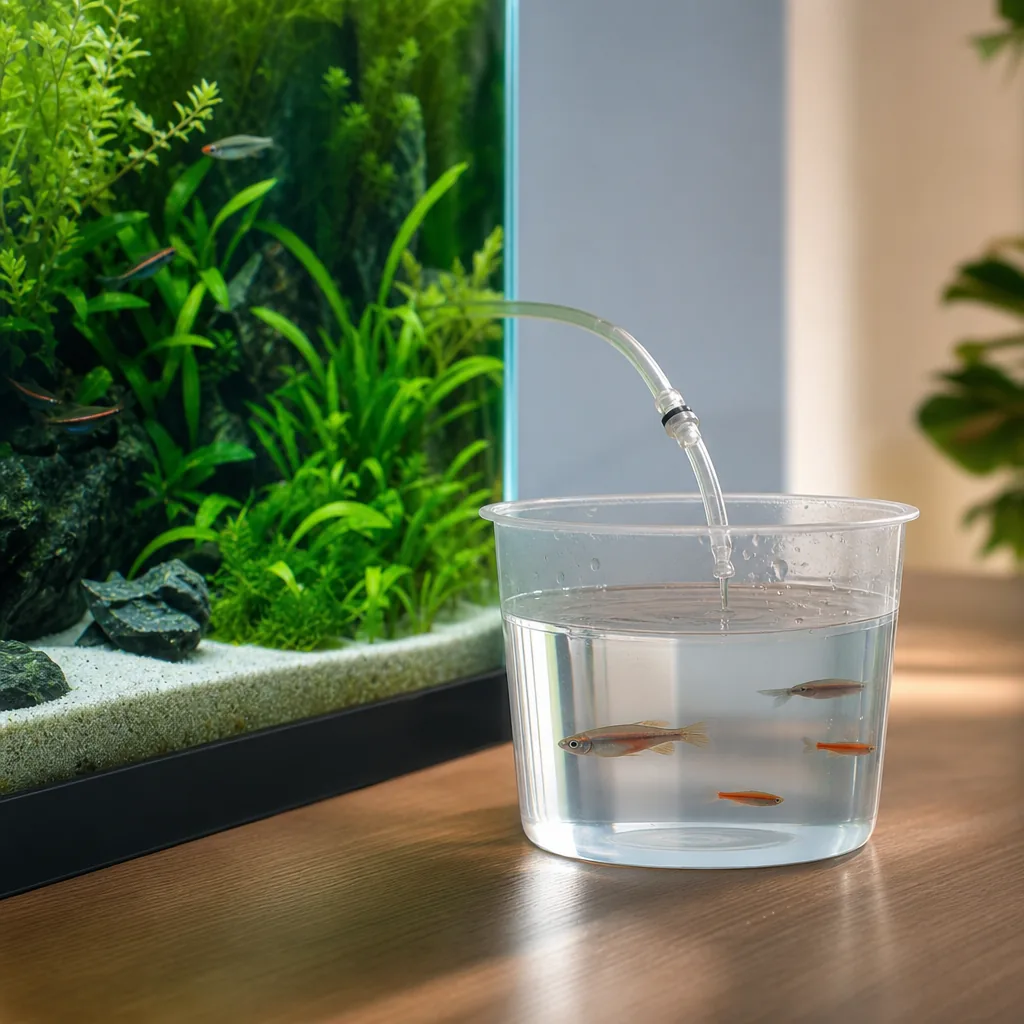
Bringing home new fish or shrimp is exciting, but the moment you add them to your tank is also the riskiest. The water in the bag is almost never a match for your tank, and dumping a sensitive animal straight in can shock it badly. Drip acclimation is the gentle method that gives delicate livestock the best chance, and it is simpler than it looks.
Why Acclimation Matters
Water differs in temperature, pH, hardness, and salinity from one source to another. A fish that has been sitting in bag water for hours has also been in slowly degrading conditions. Add it too quickly to different water and the sudden swing in parameters, especially pH and temperature, can cause severe stress or death.
This is called osmotic shock, and shrimp and delicate fish are particularly prone to it. Drip acclimation lets the animal adjust gradually rather than all at once, which is why it is the gold standard for anything sensitive.
Float Versus Drip: When to Use Each
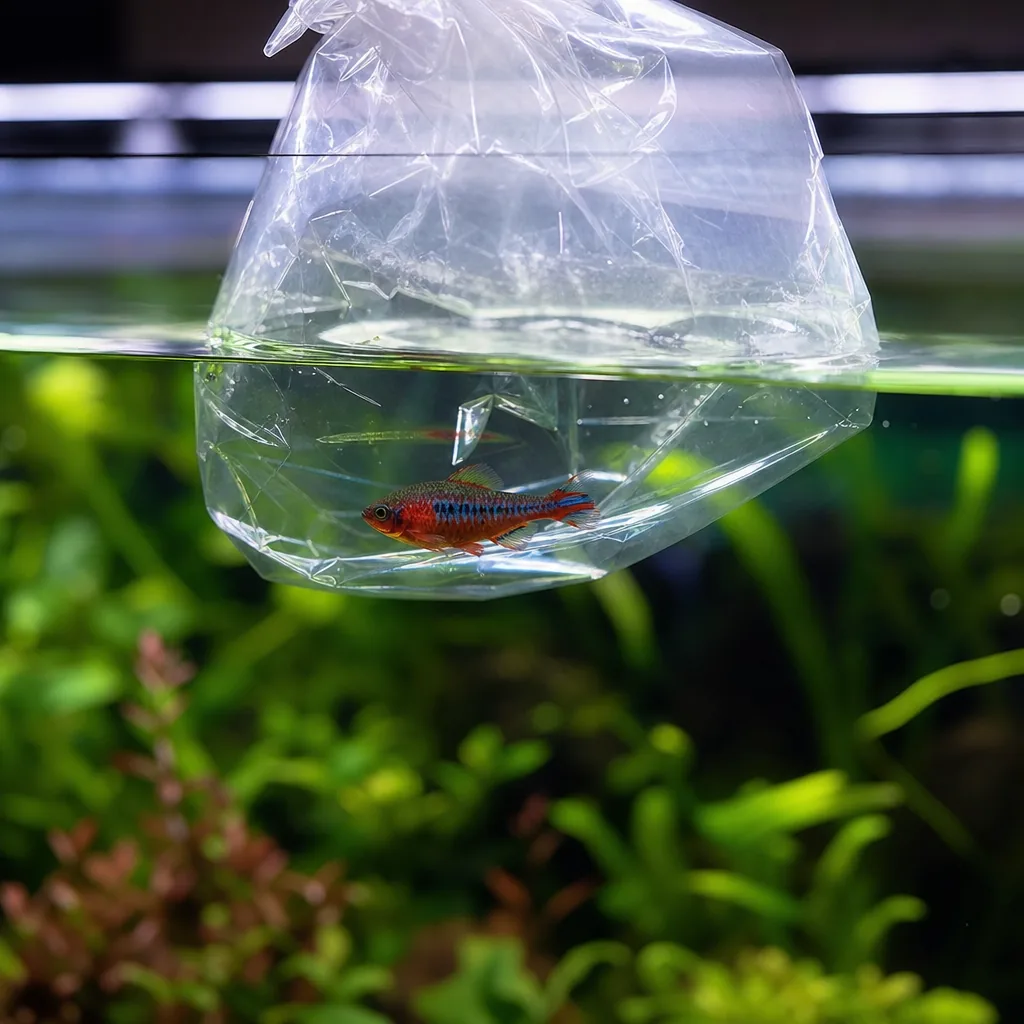
The old-school method is to float the sealed bag in the tank for fifteen minutes to match temperature, then release. That is fine for hardy fish over short trips home. But it only addresses temperature, not the chemistry differences.
Drip acclimation goes further by slowly mixing your tank water into the animal’s water over a longer period, easing both temperature and chemistry. Use drip acclimation for:
- Shrimp, which are extremely sensitive to parameter swings.
- Wild-caught or delicate fish.
- Most saltwater livestock, where salinity matching matters.
- Any animal that traveled a long way or shipped overnight.
What You Need
The setup is inexpensive and reusable:
- A clean bucket or container dedicated to aquarium use only, never one that held soap or chemicals.
- A length of airline tubing.
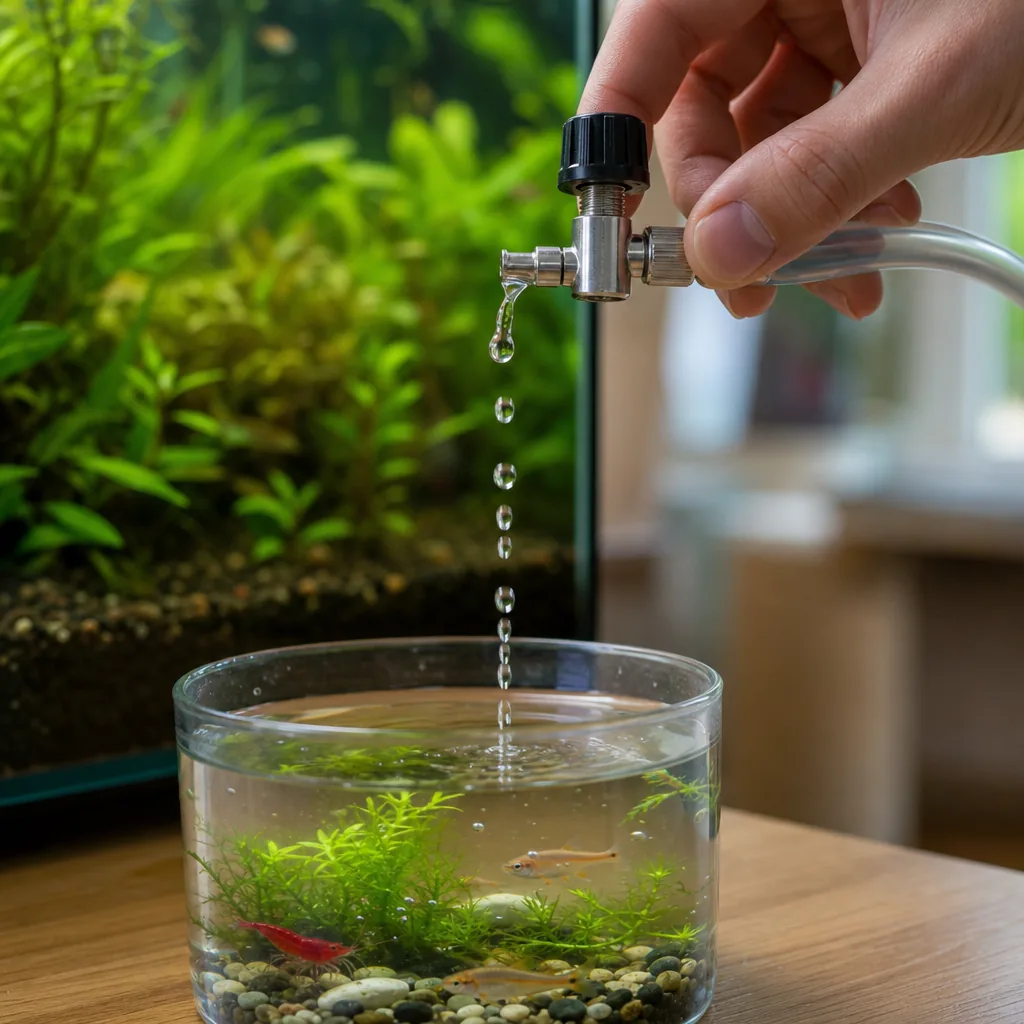
- A drip or airline control valve, or a simple loose knot tied in the tubing to slow the flow.
- Optionally, an air stone if acclimation will run long.
Step by Step Drip Acclimation
1. Set up the container
Gently pour the new fish or shrimp along with their bag water into the clean bucket. Place the bucket lower than your tank so gravity can do the work. Tilt it if needed so the animals stay submerged in the shallow pool of water.
2. Start the siphon
Run the airline tubing from your tank down into the bucket. Start a siphon so tank water flows down the line. Use the control valve or a knot in the tubing to slow it to a steady drip, roughly two to four drips per second is a common target.
3. Let it run
Allow the drip to continue until the volume of water in the bucket has at least doubled, which typically takes thirty minutes to an hour or more for sensitive species. For very delicate shrimp, going slower and longer is safer.
4. Transfer the animals
Once acclimated, net the fish or gently scoop the shrimp and move them into the tank. Here is the important part: do not pour the bag water into your tank. That water can carry pollutants, disease, or unwanted parameters. Discard it.
Common Mistakes to Avoid
- Rushing the drip, which defeats the entire purpose.
- Pouring bag water into your display tank instead of discarding it.
- Leaving the bucket in direct sun or a cold draft, causing temperature swings.
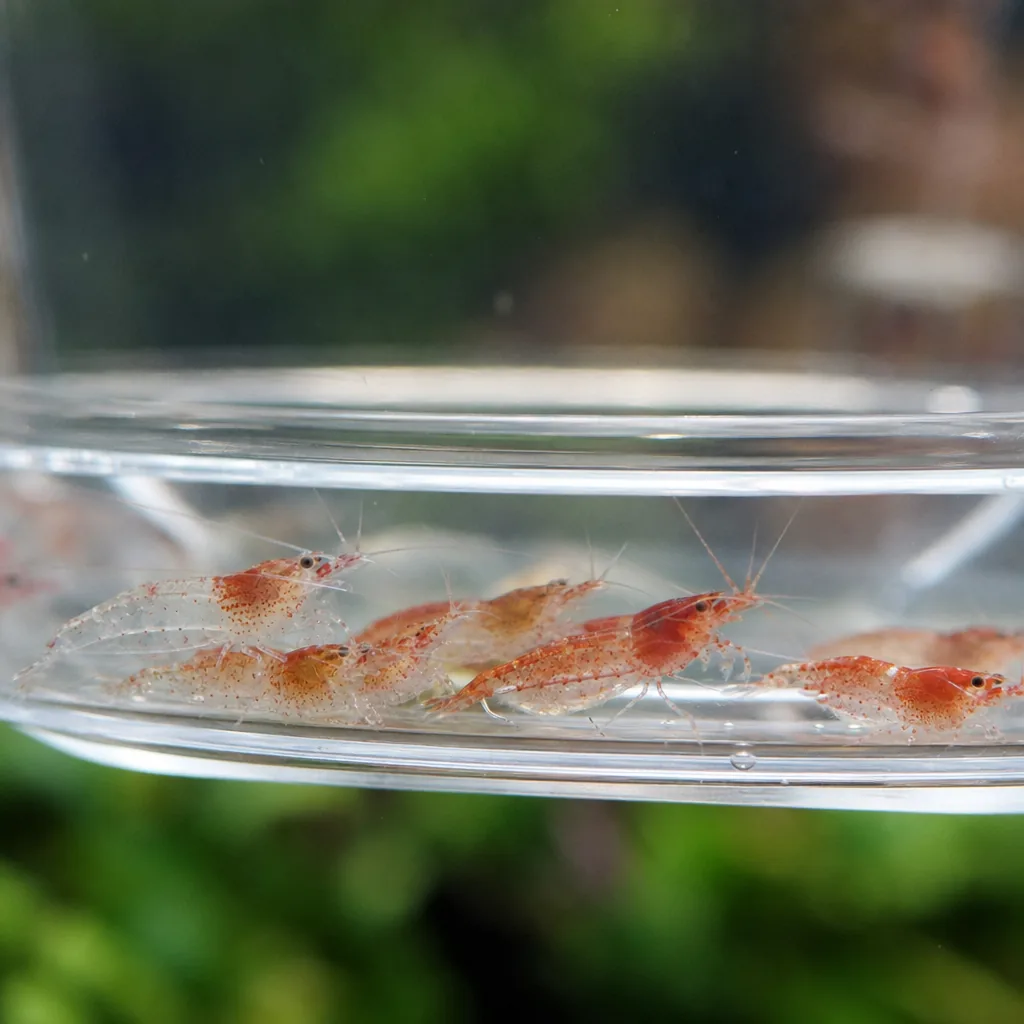
- Skipping acclimation for shrimp, which are the least forgiving of all.
- Forgetting to keep the animals submerged as the water level rises in the bucket.
A Note on Quarantine
Acclimation and quarantine are two different things. Drip acclimation eases the animal into new water chemistry. Quarantine is holding new arrivals in a separate tank for a couple of weeks to catch disease before it reaches your main tank. Both are worth doing, especially for a valuable or established aquarium.
The Payoff
Drip acclimation costs almost nothing and takes an hour of patience, but it dramatically improves survival for shrimp and sensitive fish. Set up the bucket, slow the drip, double the water, and transfer without the old bag water. Get in the habit and you will lose far fewer animals in those critical first hours.
For airline tubing, control valves, and acclimation supplies, check our shop. For species-specific stocking advice, browse our freshwater section, and find more setup and care guides across the blog.
Frequently Asked Questions
How long should drip acclimation take?
For sensitive fish and shrimp, aim for at least thirty minutes to an hour, running the drip until the water volume in the bucket has at least doubled. Very delicate shrimp benefit from going even slower.
Do I need to drip acclimate all fish?
Not all. Hardy fish over a short trip home can often just be temperature floated. Drip acclimation is important for shrimp, delicate or wild-caught fish, most saltwater livestock, and anything shipped a long distance.
Can I pour the bag water into my tank?
No. Bag water can carry pollutants, disease, or off parameters. Net or scoop the animals into your tank and discard the bag water separately.
Why are shrimp so hard to acclimate?
Shrimp are extremely sensitive to sudden changes in water chemistry and are prone to osmotic shock. A slow, longer drip gives them time to adjust and greatly improves their survival.
What is the difference between acclimation and quarantine?
Acclimation eases a new animal into your water chemistry over an hour or so. Quarantine is holding new arrivals in a separate tank for a couple of weeks to catch disease before it spreads to your main tank.