
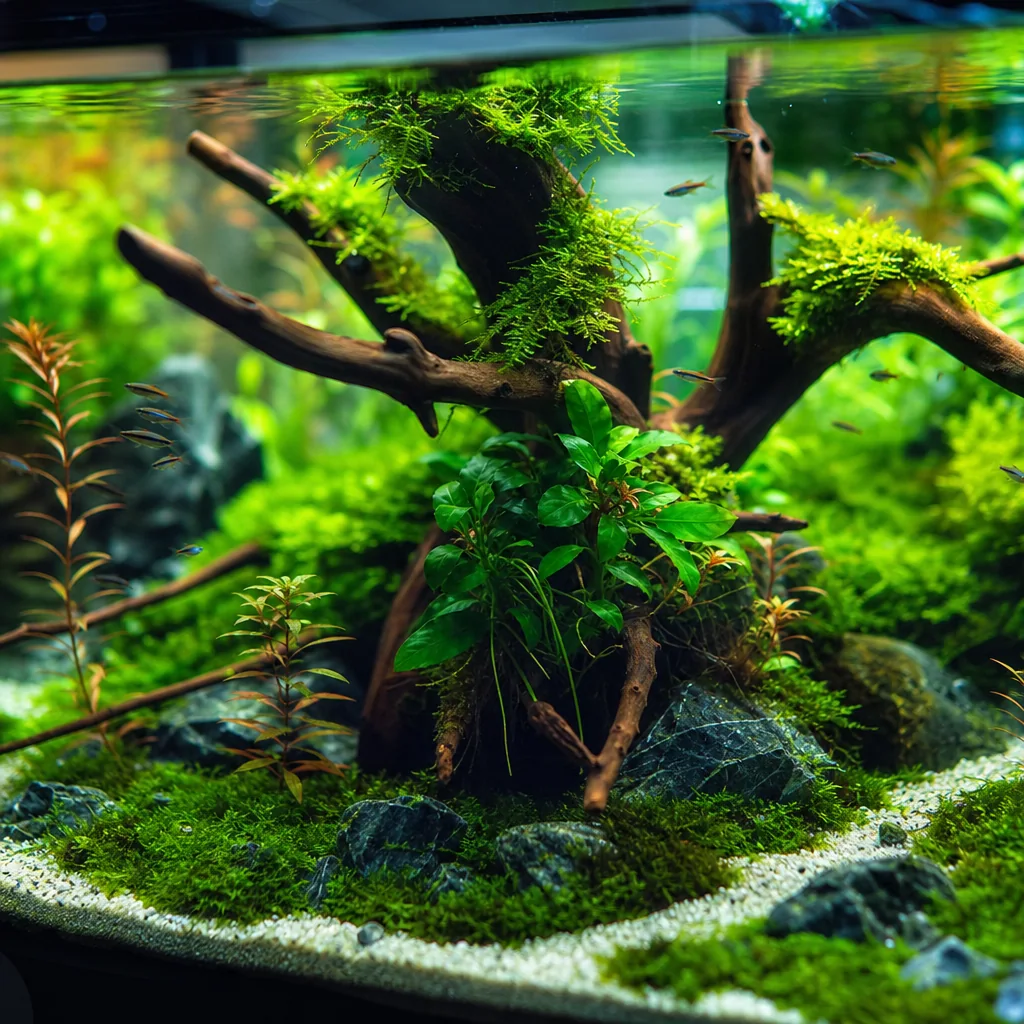
A lush planted aquarium looks like something out of a nature documentary, but the secret isn’t a green thumb, it’s getting the setup right from the start. Build the foundation properly and the plants largely take care of themselves. Here’s how to set up a planted tank step by step, whether you want a simple low-tech jungle or a high-tech showpiece.
Step 1: Choose Your Substrate
Substrate is where most planted tanks are won or lost, because it’s both the anchor and the food source for rooted plants. You have two main routes:
- Aquasoil (active substrate): Nutrient-rich planted substrate is the easiest path to thriving plants. It feeds roots directly and is ideal for demanding species. It can lower pH and leach ammonia early on, which actually helps during cycling.
- Inert substrate plus root tabs: Sand or fine gravel works fine for hardy plants if you supplement with root tabs for heavy root feeders. It’s cheaper but slower to deliver results.
Whichever you choose, aim for at least two inches of depth so roots have room to spread. You can compare substrate options in our reviews.
Step 2: Add Your Hardscape
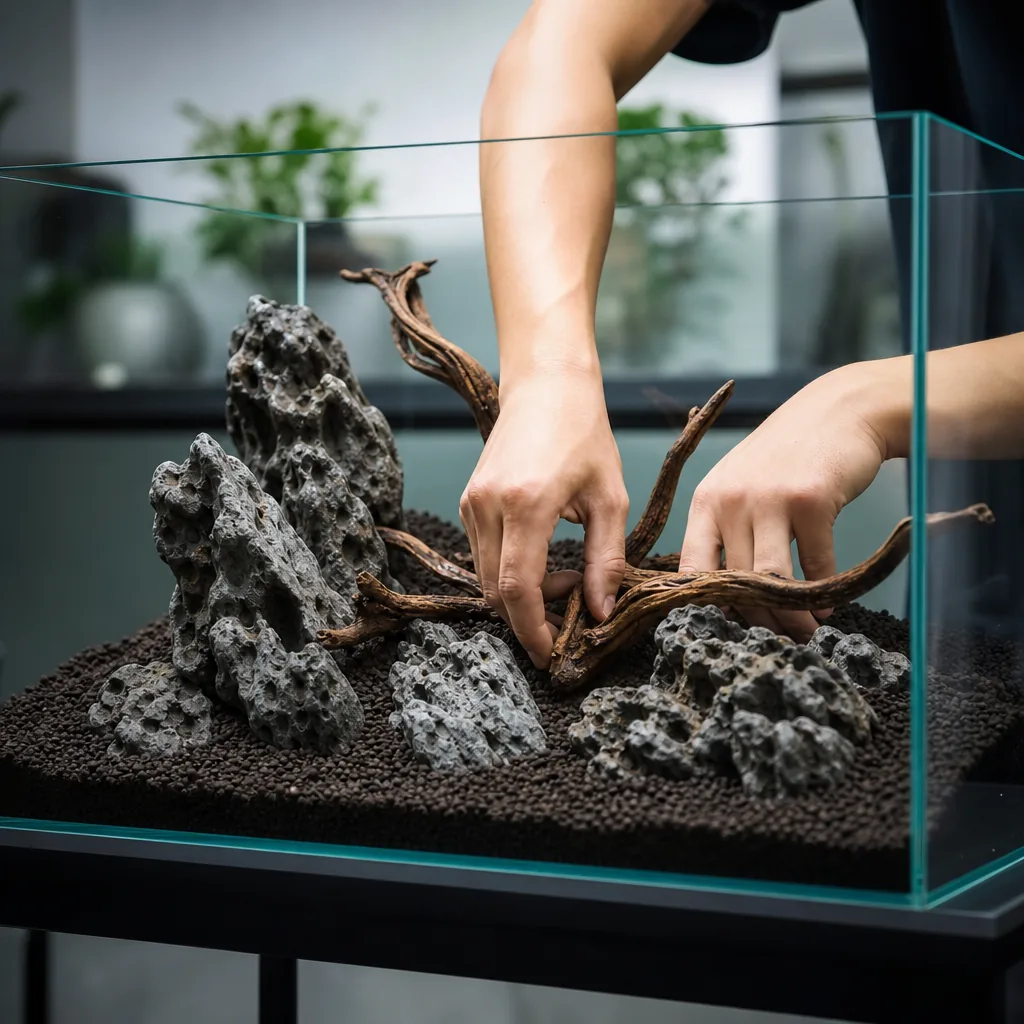
Hardscape is the rock and driftwood that forms the “bones” of your layout. Place it before adding water and before planting so you can rearrange freely. A few principles help:
- Use odd numbers of focal pieces; they look more natural than symmetrical arrangements.
- Create a sense of depth by sloping substrate higher at the back.
- Soak new driftwood first, as it often releases tannins that tint the water (harmless, but some people dislike the tea color).
Take your time here. Good hardscape makes even simple plants look intentional and beautiful.
Step 3: Get the Lighting Right
Plants are photosynthetic, so light is the engine that drives growth. Your light choice should match your ambitions:
- Low light: Plenty for hardy plants like anubias, java fern, cryptocoryne, and mosses. Forgiving and low-maintenance.
- Medium to high light: Needed for carpeting plants and red, demanding species, but it also drives algae if nutrients and CO2 aren’t balanced.
Start with a timer running roughly six to eight hours a day. More light isn’t better; it just speeds everything up, including algae. Dial up duration and intensity slowly as the tank matures.
Step 4: Decide on CO2 (Low-Tech vs. High-Tech)
This single decision shapes your whole tank.
Low-Tech (No Added CO2)
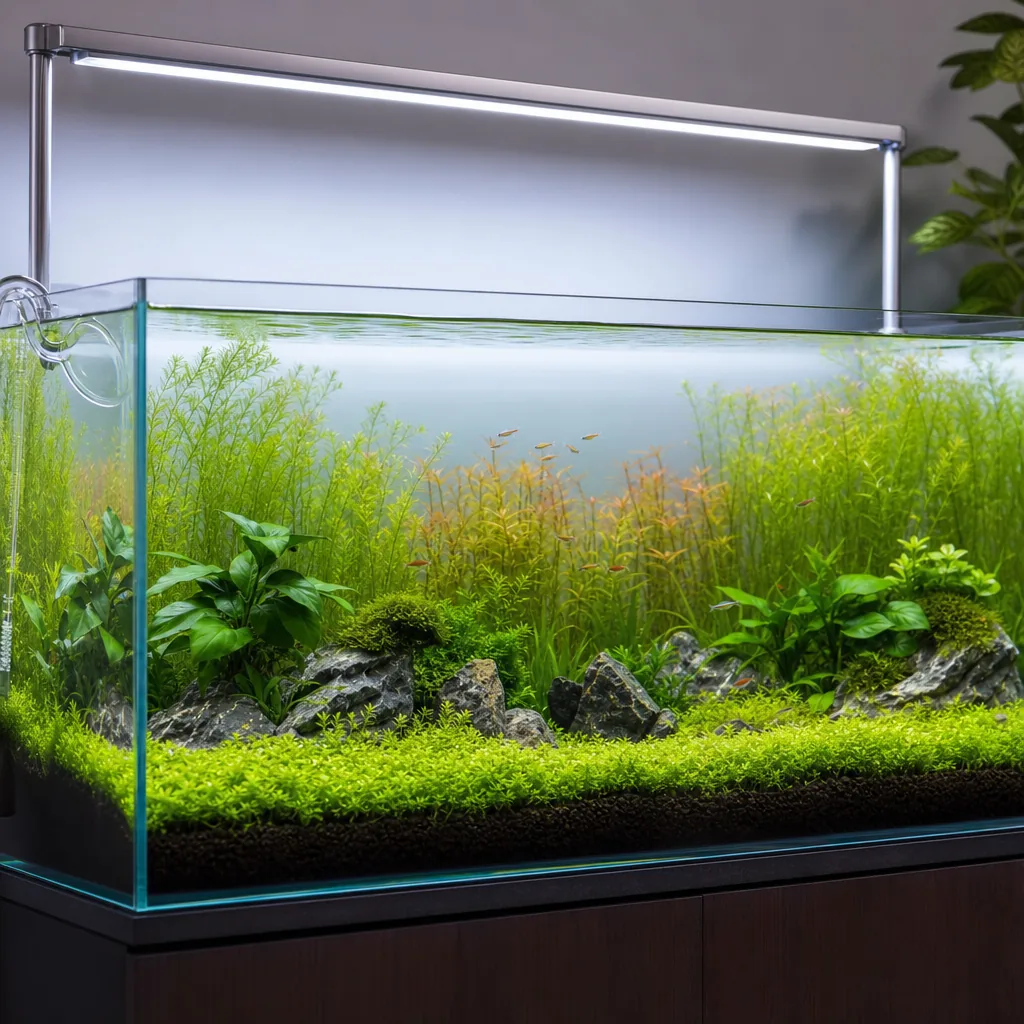
Relies on the small amount of CO2 naturally present in the water. Growth is slower and steadier, maintenance is lighter, and the plant list is limited to hardy, undemanding species. This is the best starting point for most beginners and still produces a gorgeous tank.
High-Tech (Pressurized CO2)
Injecting CO2 unlocks fast growth, carpeting plants, and vivid reds. The tradeoff is more equipment, more trimming, more careful dosing, and a higher risk of algae if anything falls out of balance. It’s rewarding, but I’d suggest a low-tech tank first so you learn the fundamentals.
Step 5: Choose Your Plants
Match plants to your light and CO2 level rather than buying whatever looks nice in the store. For a low-tech tank, reliable winners include:
- Foreground: Dwarf sagittaria, micro sword, or a low crypt.
- Midground: Anubias and cryptocoryne, both nearly indestructible.
- Background: Java fern, vallisneria, and various stem plants for height.
- On hardscape: Java moss and anubias tied or glued to wood and rock.
A tip worth remembering: anubias and java fern should be attached to hardscape, never buried, because their rhizome rots if planted in substrate.
Step 6: Planting Technique
How you plant matters as much as what you plant.
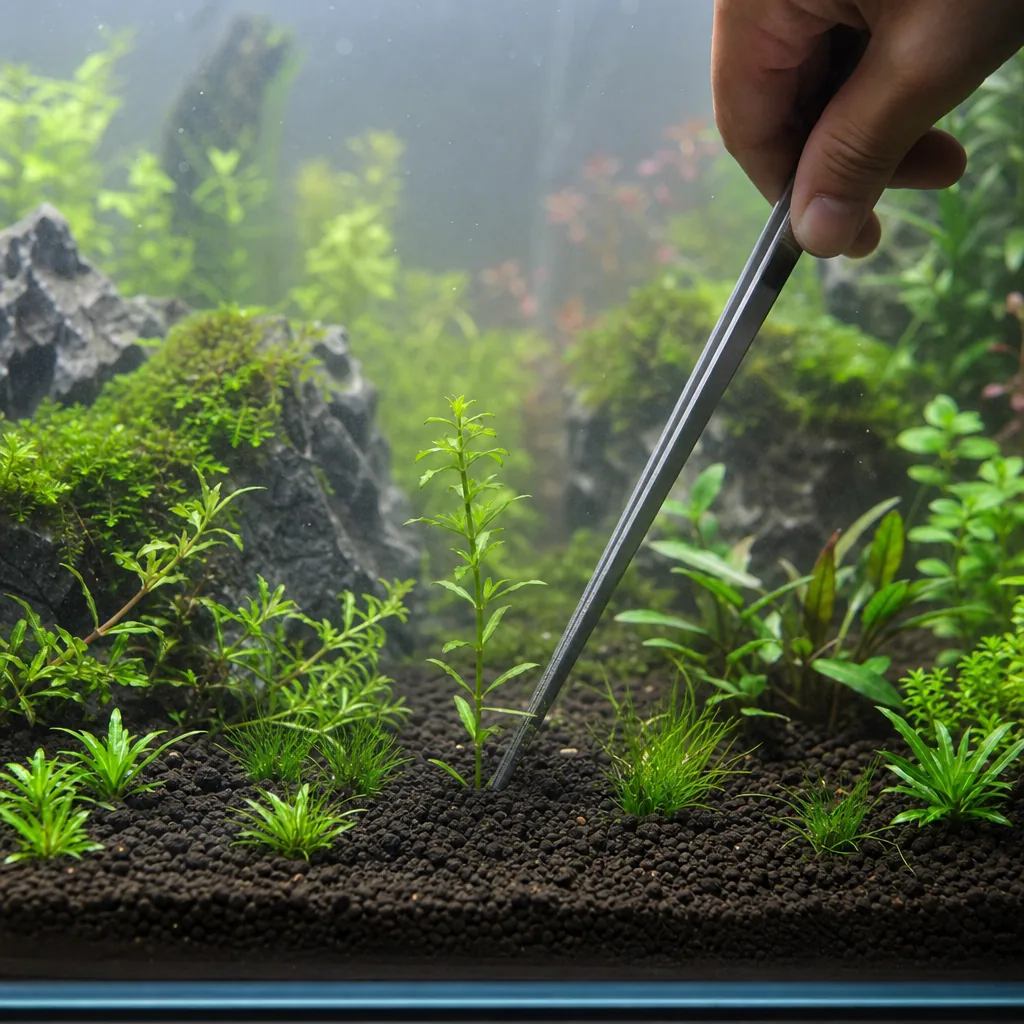
- Plant in damp substrate, not full water. Fill the tank only an inch or two, or keep it dry; it’s far easier to push roots in without plants floating away.
- Use tweezers for stems and carpets. Long aquascaping tweezers let you plant individual stems at an angle so they hold.
- Bury roots, not crowns. The base of the leaves should sit just above the substrate, especially for crypts and swords.
- Glue or tie rhizome plants. Secure anubias, java fern, and moss to rock or wood with aquarium-safe gel or thread.
Once everything’s planted, fill the tank slowly to avoid uprooting your work, and turn on the filter and heater.
Step 7: The First Few Weeks
The early weeks are about patience. Your tank still needs to cycle, and your plants need to convert from their emersed (grown-out-of-water) farm form to their submerged form. Expect some melting and yellowing at first; that’s normal, not failure.
- Keep light moderate to discourage early algae.
- Do regular water changes, especially with active aquasoil, which leaches ammonia early.
- Don’t add fish until the tank is cycled. See our nitrogen cycle guide if you need a refresher.
- Resist the urge to tinker. Stability beats constant adjustment.
Step 8: Ongoing Maintenance and Trimming
A planted tank is a garden, and gardens need tending, but not much once it’s established.
- Weekly water changes keep nutrients balanced and nitrate in check.
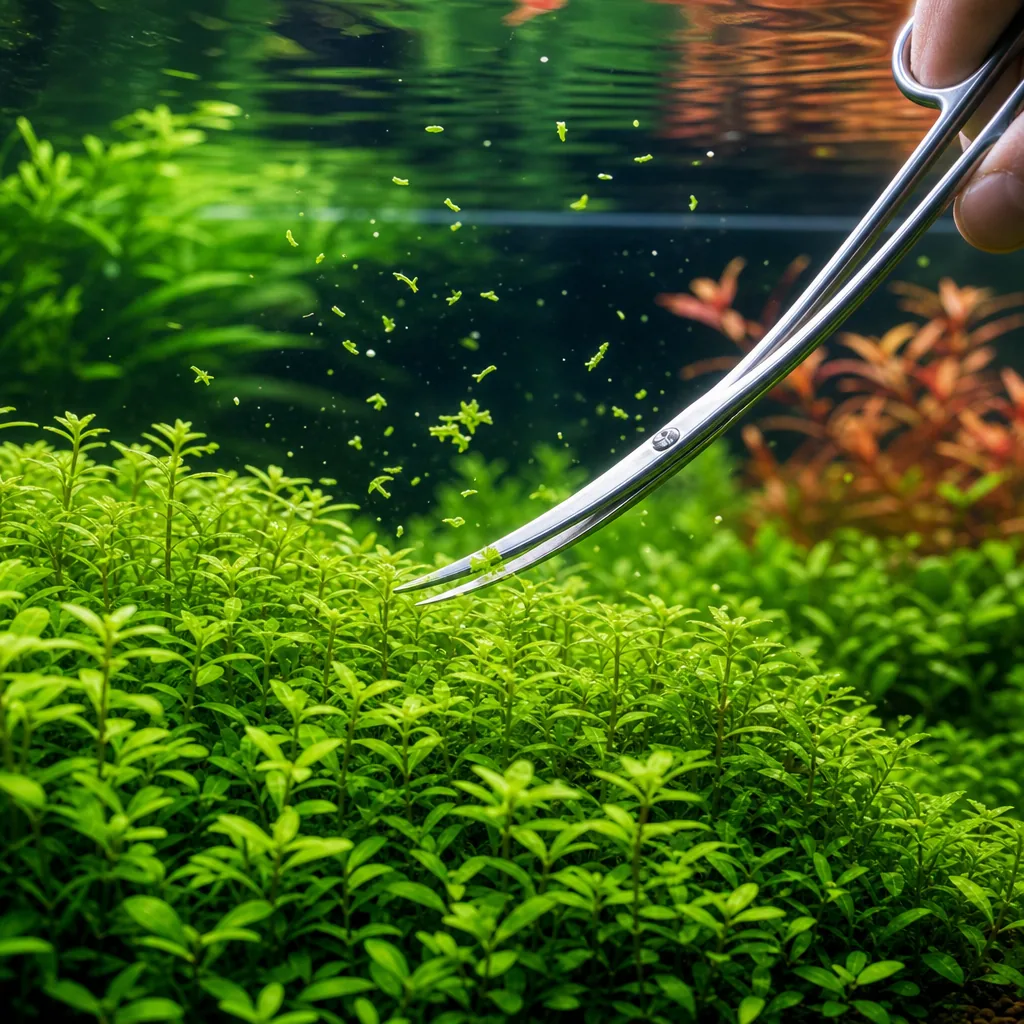
- Trim stem plants regularly to encourage bushy growth; replant the healthy tops.
- Dose fertilizers as your plants demand them. Low-tech tanks need little; high-tech tanks need a consistent routine.
- Clean the glass and watch for algae, which is your early warning that light, nutrients, and CO2 are out of balance.
If you’re building a quiet outdoor version of all this, many of the same plant and lighting principles carry over to a pond, just at a larger scale.
Bottom Line
Start with a rich substrate, thoughtful hardscape, modest lighting, and a low-tech, no-CO2 setup using hardy plants. Plant carefully, be patient through the first few weeks, and stay on top of light water changes and trimming. Get the foundation right and a planted tank becomes one of the most rewarding, self-sustaining corners of the hobby. Browse our gear reviews or explore more in the freshwater section when you’re ready to begin.
Frequently Asked Questions
Do I need CO2 for a planted aquarium?
Not as a beginner. Many low-light plants like Anubias, Java fern, and cryptocoryne thrive without injected CO2. Add CO2 only when you move on to demanding high-light plants.
What substrate is best for live plants?
A nutrient-rich aquasoil or planted-tank substrate gives roots what they need. Plain gravel works for rhizome and floating plants but will not feed heavy root-feeders.
How much light does a planted tank need?
Most low to medium plants do well with 6-8 hours of moderate full-spectrum light per day. Too much light without matching nutrients or CO2 mostly fuels algae.
Should I use root tabs or liquid fertilizer?
Use root tabs for root-feeders like swords and crypts, and a liquid all-in-one for water-column feeders like stems and mosses. Many planted tanks benefit from both.
How soon can I add fish to a planted tank?
Plant first, then let the tank cycle for 4-6 weeks. Established plants actually help by absorbing some ammonia and nitrate along the way.