
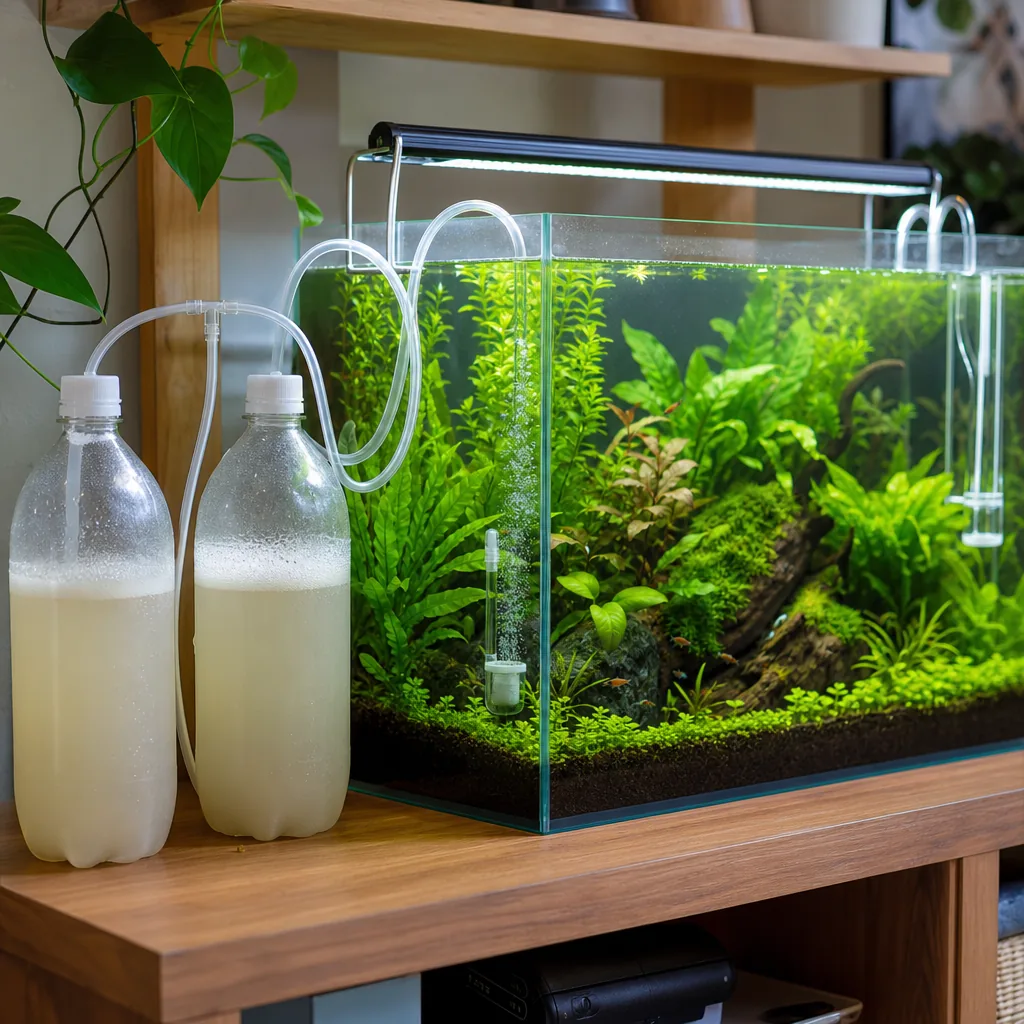
Injecting CO2 is the fastest way to transform a struggling planted tank into a lush one, but the cost of a pressurized cylinder setup stops a lot of hobbyists before they start. The good news is that you can build a working CO2 system with a soda bottle, sugar, and yeast for the price of a few groceries. It is not as powerful or precise as pressurized gas, but for a small to medium tank it can make a real difference.
How DIY CO2 Works
The whole system runs on fermentation. Yeast eats sugar and produces carbon dioxide as a byproduct. You capture that CO2 in a sealed bottle, run it through tubing into your tank, and diffuse it into the water where your plants can use it. It is the same reaction that makes bread rise, redirected into your aquarium.
Because it depends on living yeast, the output is not perfectly steady and it fades as the yeast exhausts the sugar, but a simple two-bottle setup smooths that out considerably.
What You Need
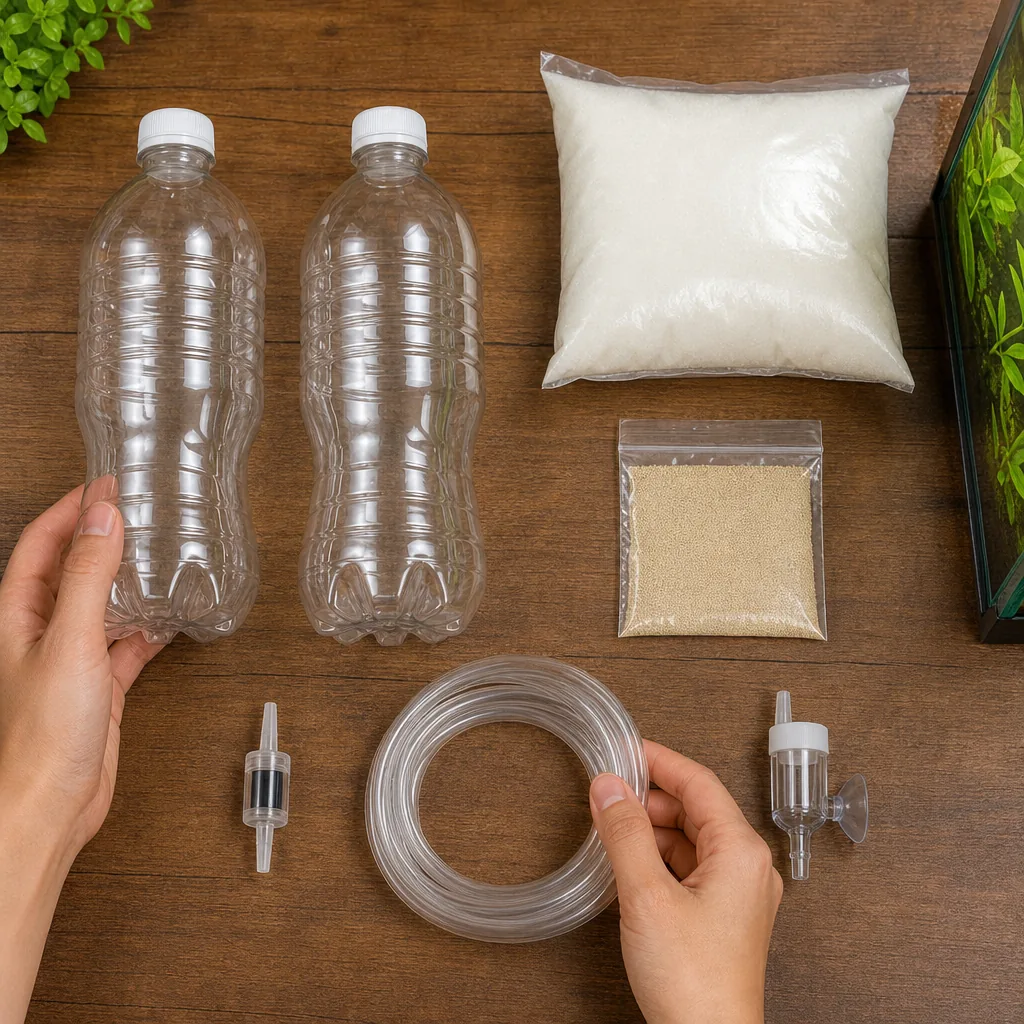
A basic build uses parts you can find cheaply or already own:
- One or two plastic soda bottles with tight-sealing caps.
- Airline tubing.
- Sugar, baking yeast, and warm water.
- A check valve to stop water backing up into the bottle.
- A diffuser or a fine airstone to break the gas into small bubbles.
- Optional: a second bottle to act as a bubble counter and gas buffer.
The check valve is the one part you should not skip. Without it, tank water can siphon back into your bottle and make a mess.
The Fermentation Mix
The recipe is simple and forgiving. Fill the bottle most of the way with warm water, add sugar, and stir until it dissolves. Add a small amount of baking yeast. Some hobbyists add a pinch of baking soda to slow and stabilize the reaction, which helps the mix last longer and produce more evenly.
- Use warm, not hot, water so you do not kill the yeast.
- Leave headspace at the top of the bottle for gas to collect.
- More sugar and yeast means faster output but a shorter overall lifespan.
Expect a batch to last a couple of weeks before output drops off and you need to remix. Staggering two bottles on different schedules keeps CO2 more consistent.
Assembling the System
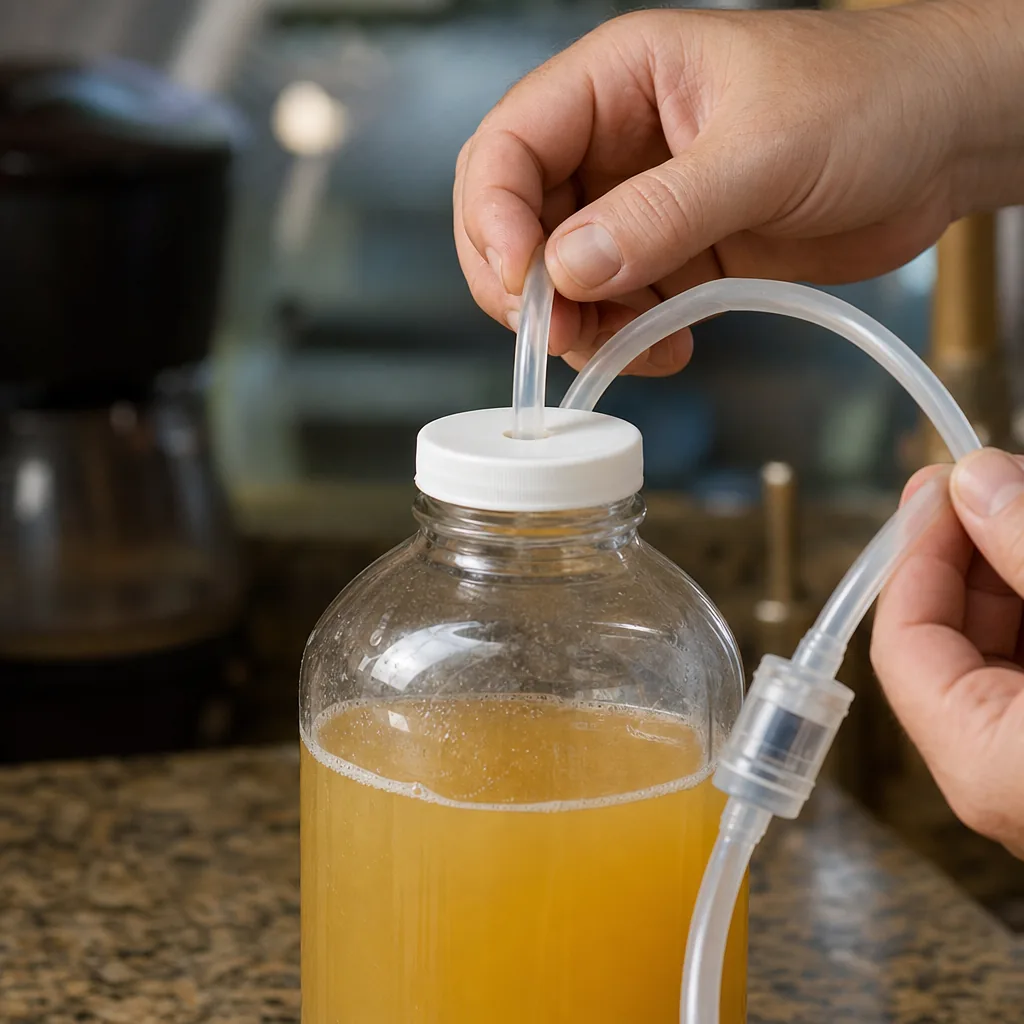
Drill or poke a hole in the bottle cap just big enough for the airline tubing, push the tubing through, and seal around it so gas only escapes through the tube. Run the tubing to a check valve, then into your tank to a diffuser positioned in good flow so the CO2 mixes well.
If you use a two-bottle setup, connect the first bottle to a second partially filled bottle that acts as a buffer and lets you watch the bubble rate, then run the output into the tank. This dampens the surges and dips of fermentation.
Diffusing CO2 Effectively
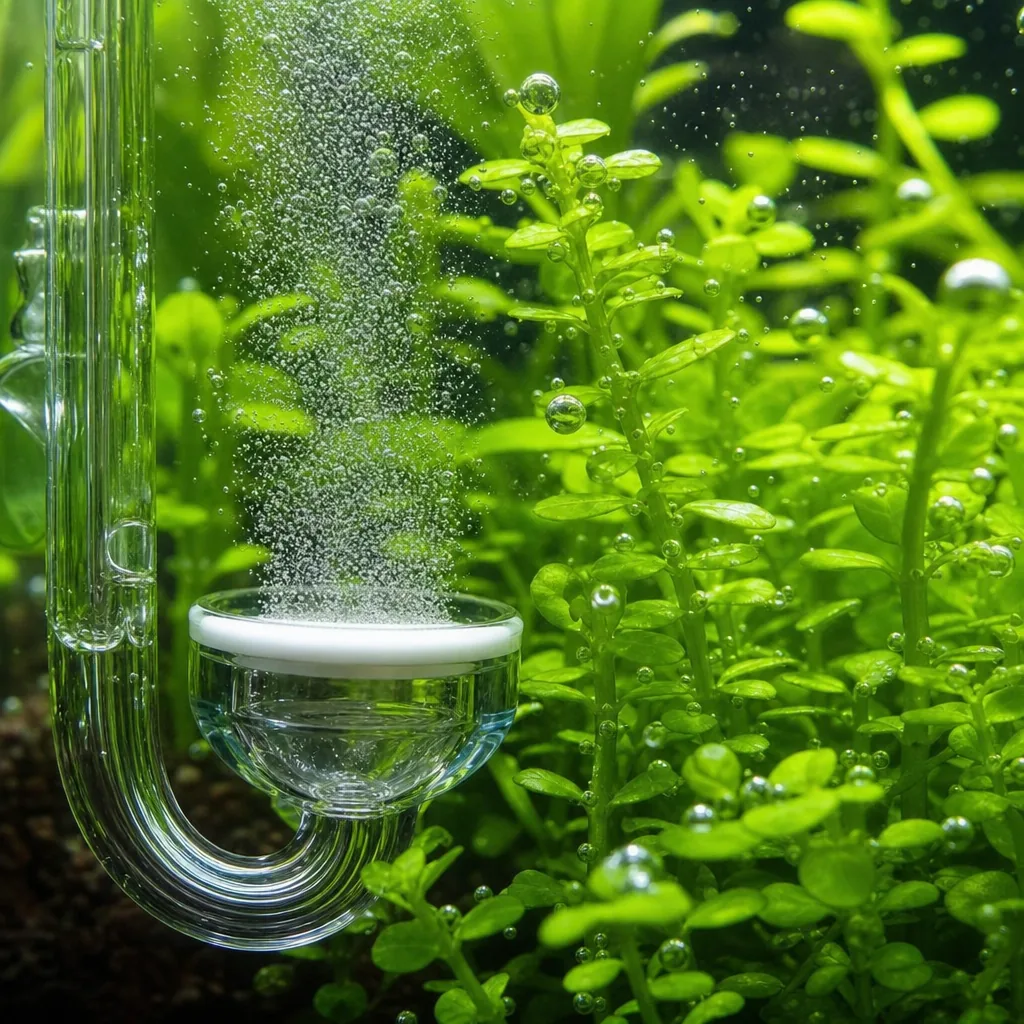
Getting CO2 into the water column matters as much as producing it. The finer the bubbles and the longer they stay in the water, the more your plants absorb.
- Place the diffuser low in the tank so bubbles rise through more water.
- Position it near flow so the current carries dissolved CO2 around the tank.
- A dedicated ceramic diffuser produces finer bubbles than a plain airstone, but even a basic setup helps.
If you are dialing in a planted tank overall, our planted tank guides cover pairing CO2 with light and fertilizer for balanced growth.
Limitations and Safety
DIY CO2 is a great entry point, but it has honest limits. Output is inconsistent, it does not scale well to large tanks, and you cannot shut it off at night the way pressurized systems can, which can let CO2 accumulate. Watch your fish for signs of stress such as gasping at the surface, and keep the injection modest, especially on a smaller tank.
Because output is unstable, DIY CO2 can actually feed algae if it swings too much, so keep your batches on a schedule and avoid big gaps between remixes. Done consistently, though, it delivers noticeably better plant growth for very little money.
When to Upgrade
If you catch the planted-tank bug, a pressurized system eventually pays off in consistency, control, and less weekly fuss. But there is no shame in running DIY CO2 for a long time, and many great tanks have been grown on nothing more than sugar and yeast. Start cheap, learn how your plants respond, and upgrade when it makes sense. For diffusers, tubing, check valves, and pressurized options, see our gear picks, and browse the blog for more planted-tank projects.
Frequently Asked Questions
How does a DIY CO2 system work?
Yeast ferments sugar and produces carbon dioxide as a byproduct. You capture that gas in a sealed bottle, run it through tubing into the tank, and diffuse it into the water for your plants to absorb. It is the same reaction that makes bread rise.
What do I need to build one?
A soda bottle, airline tubing, sugar, baking yeast, warm water, a check valve, and a diffuser or airstone. A second bottle as a buffer and bubble counter helps smooth the output. The check valve is essential to stop water backing up.
How long does a DIY CO2 batch last?
Usually a couple of weeks before output drops and you need to remix. Adding a pinch of baking soda can stabilize and extend it, and staggering two bottles on different schedules keeps CO2 more consistent.
Is DIY CO2 safe for fish?
It can be, but output is inconsistent and cannot be shut off at night, so CO2 may accumulate. Keep injection modest on smaller tanks and watch for fish gasping at the surface, which signals too much CO2.
Should I upgrade to a pressurized system?
Consider it if you want consistency, precise control, and less weekly maintenance, or if your tank is large. DIY CO2 is a great low-cost start, but pressurized gas is steadier and easier to manage long term.