
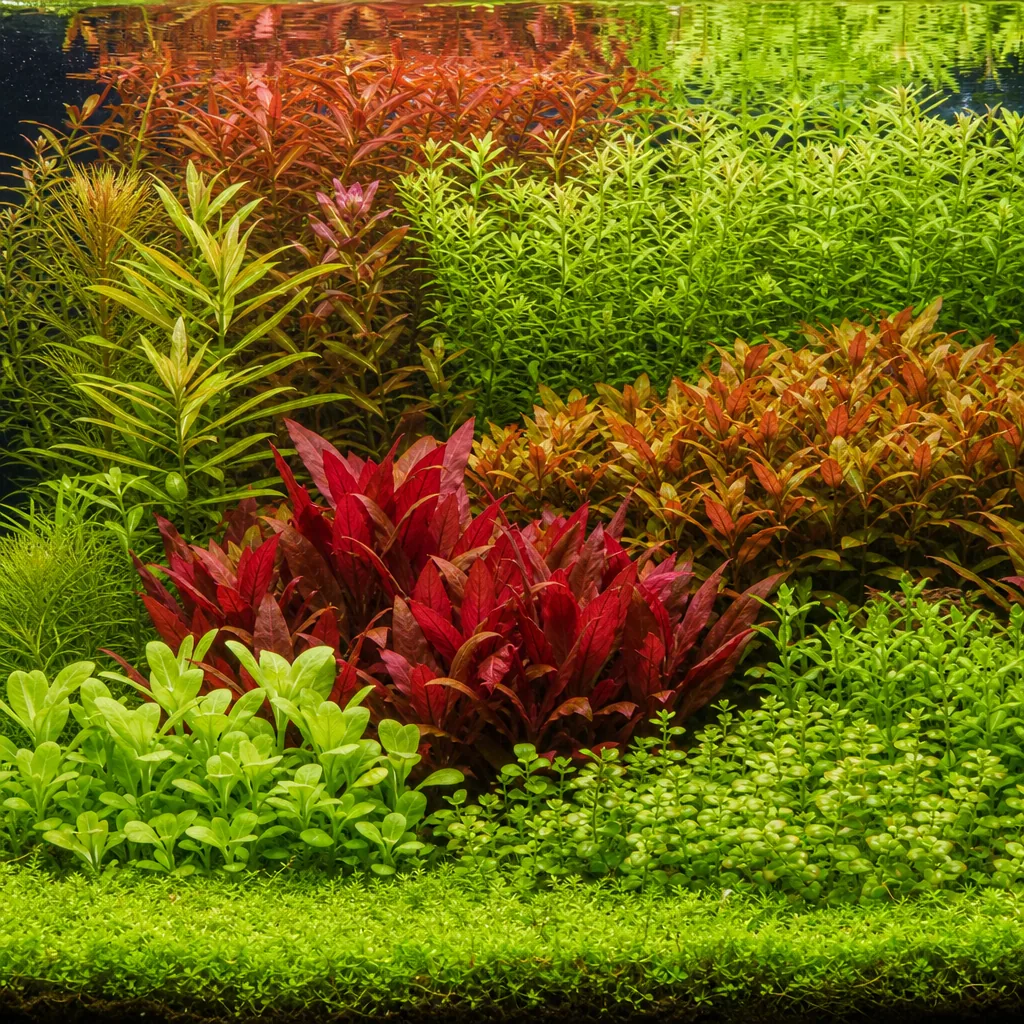
Most planted tanks are a random collection of whatever looked good at the store, and they end up looking exactly that random. The Dutch style is the opposite: a disciplined, gardener’s approach where every plant group earns its place through contrast in color, texture, and height. If you love plants more than rocks and driftwood, this is your style.
What Makes a Dutch Aquascape Dutch
Dutch aquascaping originated with hobbyists in the Netherlands and is one of the oldest formal styles. The defining trait is that it uses almost no hardscape. There is little or no rock and little or no driftwood. The composition is built entirely from plants arranged like a terraced flower bed viewed from the front.
Instead of imitating a natural landscape, a Dutch tank is openly a cultivated garden. It celebrates variety and density, and it rewards the grower who can keep a dozen or more species healthy and full at once. If you enjoy the growing as much as the viewing, few styles are more satisfying.
The Core Design Rules
Dutch style follows a handful of conventions that give it its signature look. You do not have to obey all of them, but understanding them helps.
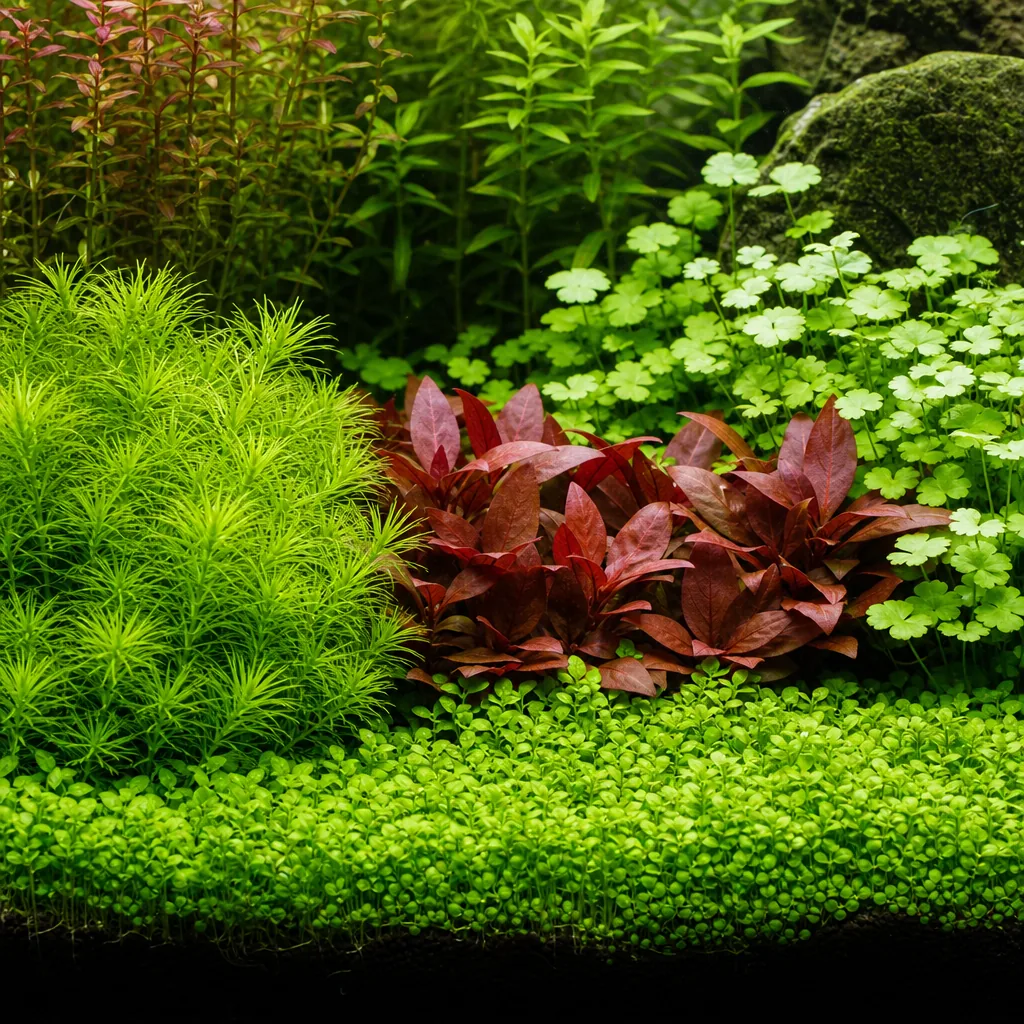
- Plant groups, not singles. Each species is planted in a distinct group or “street,” never scattered. A group needs enough stems to read as a solid block of color and texture.
- Contrast between neighbors. Adjacent groups should differ clearly in leaf color, leaf size, or texture. A fine-leaved green next to a broad red leaf creates the separation the style depends on.
- The 10-plant guideline. A traditional rule suggests roughly one plant species per 10 centimeters of tank length, so groups stay generous rather than cramped.
- Terracing. The substrate and plant heights step up toward the back and often the sides, so every group is visible.
Streets and the Illusion of Depth
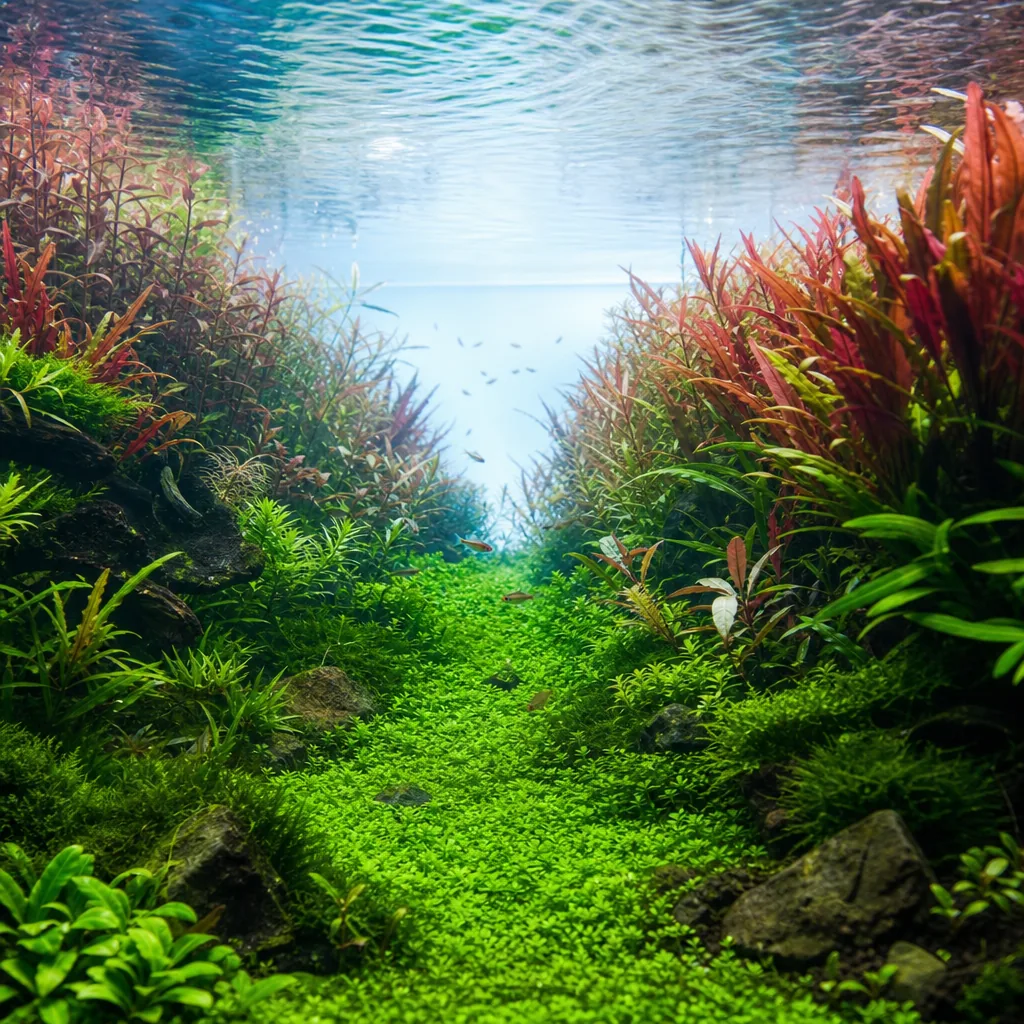
The most recognizable Dutch technique is the “Dutch street” or “leiden street.” This is a row of plants, often a red or distinctly colored species, planted diagonally so it runs from the front of the tank toward the back. Because it narrows as it recedes, it draws the eye into the scene and creates a strong sense of depth in what is really a shallow glass box.
You typically place one or two streets in a layout, not more, or they compete with each other. A single well-executed street cutting across the middle ground is often the feature that separates a convincing Dutch tank from a merely dense one.
Choosing and Grouping Plants
Species selection is where Dutch tanks are won or lost. You want plants that stay tidy, hold their color, and can be pruned to shape. Think in terms of roles rather than individual favorites.
- Foreground: low carpeting or short bunch plants that form a neat front border.
- Midground: the contrast workhorses, often colorful stem plants and broad-leaved specimens.
- Background: tall, fast-growing stems that fill the top rear as a lush green wall.
Group by contrast. Set a feathery green beside a solid red, a large round leaf beside a fine one. Avoid placing two similar-looking greens next to each other, because the boundary between them disappears and the whole point of grouping is lost. For plant ideas and compatible species, browse the shop and cross-reference care needs in our freshwater guides.
Equipment and Water Conditions
A Dutch tank is a high-maintenance, plant-heavy system, so give it the support it needs. Strong, even lighting across the full footprint keeps the low groups healthy. CO2 injection is close to mandatory for the dense, fast growth the style demands, and a regular fertilizer routine keeps that many hungry plants fed. The Estimative Index method covered elsewhere on our blog pairs naturally with a Dutch tank because these layouts consume nutrients quickly.
A nutrient-rich substrate helps the rooted species thrive, and good flow ensures CO2 and ferts reach every corner. Dutch tanks are usually wider and longer rather than tall, because the design is meant to be viewed like a painting from the front.
Maintenance: The Real Commitment
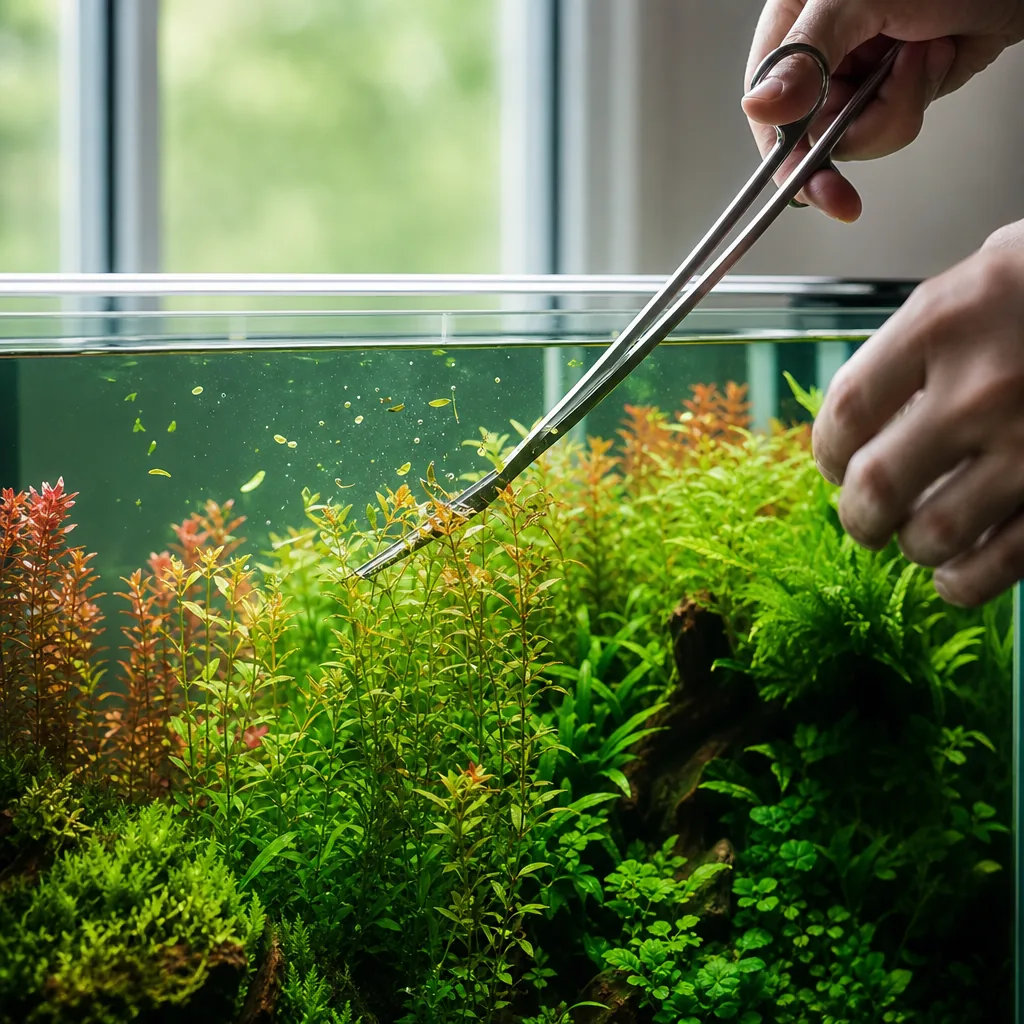
This is the honest part. Dutch aquascaping is arguably the most maintenance-intensive planted style. The stem plants grow fast, and keeping the groups sharp requires frequent, deliberate trimming. When you cut a stem group, you top the plants and often replant the cuttings to keep the block dense from the substrate up, rather than letting bare stems show.
Expect to prune weekly once the tank fills in. The reward is that a well-maintained Dutch tank looks lusher and more alive than almost anything else in the hobby. If you fall behind, groups blur together and the crisp separation that defines the style is lost. Go in knowing that the beauty is a direct result of ongoing work.
A Simple First Layout
For a first attempt, do not chase a dozen species. Start with five or six strongly contrasting groups: a low green foreground, one red street running diagonally, a broad-leaf midground specimen, a fine-textured green, and a tall background stem. Plant each in a generous block, leave clear boundaries, and let it grow in before you judge it. You can always add complexity once you can keep the basics full and healthy.
Dutch style teaches you to grow plants well, because there is nowhere to hide behind rocks or wood. Master it and every other planted style gets easier.
Frequently Asked Questions
Do Dutch aquascapes use rocks or driftwood?
Almost never. The Dutch style is built entirely from plants arranged in contrasting groups, with little or no hardscape. That plant-only focus is what defines the look.
How many plant species should a Dutch tank have?
A traditional guideline is about one species per 10 centimeters of tank length, planted in distinct groups. For a first tank, five or six strongly contrasting groups is plenty.
What is a Dutch street?
It is a row of a single plant species, often colorful, planted diagonally so it recedes toward the back of the tank. The narrowing line creates a strong sense of depth.
Do I need CO2 for a Dutch aquascape?
For the dense, fast growth the style demands, CO2 injection is close to essential, along with strong lighting and regular fertilizing. You can attempt a low-tech version but it will be far harder to keep full.
How much maintenance does a Dutch tank need?
A lot. Expect weekly trimming and frequent replanting of stem cuttings to keep groups dense and separated. The lush look is a direct result of consistent pruning.